Creating a Well-Organised Workshop: Space Planning for DIY
Whether your workspace is a corner of the garage or a dedicated shed, organisation transforms how efficiently you work. A chaotic workshop wastes time locating tools, creates safety hazards, and frustrates you before projects even start. Smart organisation solves these problems.
Assess Your Space
Start by honestly evaluating what you have. Measure your available area. Identify fixed features like windows, electrical outlets, and doors. Consider traffic flow—you'll need room to move around safely. Think about natural light and whether you need to add work lights. A small, well-organised space works better than a large, cluttered one.
Create Zones
Divide your workshop into functional areas. A cutting zone handles sawing and material prep. A work zone provides a sturdy bench for assembly and detail work. A finishing zone for painting and staining should be well-ventilated. A storage zone keeps tools and materials accessible. Separating these activities prevents dust from settling on wet finishes and keeps your work area clear.
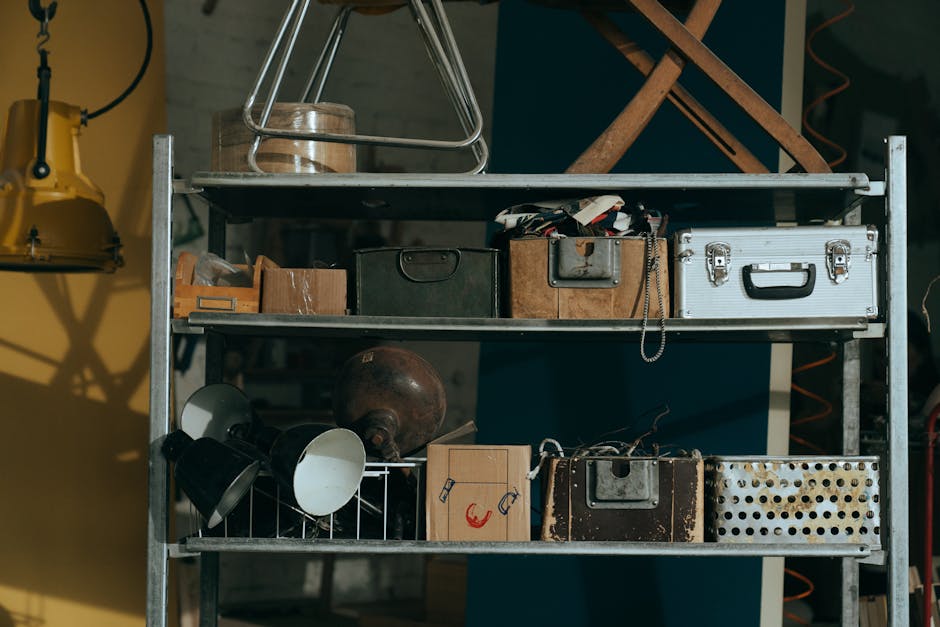
Tool Storage Solutions
Wall-mounted pegboards keep frequently-used tools visible and accessible. Magnetic strips hold metal tools securely. Shallow drawers organise small items like screws, nails, and fasteners—label everything clearly. Deep shelving holds larger items and bulk materials. Hanging racks for clamps and sanders save floor space. The key principle: frequently used items should be easily accessible. Items used occasionally can be stored higher or further away.
Workbench Selection
Your workbench is the workshop's heart. It needs to be sturdy, at a comfortable height, and large enough for your typical projects. A solid wood or steel top resists damage from hammering and clamping. Storage underneath maximises space. Ensure good lighting over your bench—this is where precision matters most. A vice mounted to the bench holds workpieces securely.
Material Storage
Lumber should be stored flat and supported to prevent warping. Short-term storage for small pieces works in wall-mounted racks. Plywood sheets need vertical or near-vertical storage on sturdy racks. Paints, stains, and finishes need cool, dry storage away from heat sources. Glass jars with labels keep small fasteners organised and visible. Clear containers let you see contents without opening them.
Safety Considerations
Ensure adequate ventilation, particularly if you use paints, stains, or adhesives. Install a fire extinguisher suitable for your materials. Keep first aid supplies accessible. Maintain clear pathways—clutter on the floor creates trip hazards. Electrical outlets should be sufficient for your power tools; avoid excessive extension cord use. Good lighting reduces accidents.
Flexibility Matters
Your needs will change as you take on different projects. Design your workshop with flexibility in mind. Moveable storage units, adjustable shelving, and a clear main work area let you adapt quickly. This flexibility makes your workshop work harder and keeps you organised as your interests evolve.